The Exposure Triangle Without the Headache
Manual mode on a camera feels like the cockpit of a plane. Three dials, numbers that go the wrong way, and a nagging fear that the "auto" photographers are getting better pictures than you. Relax. There are only three settings, and they all do the same basic job: control how bright the photo is.
What makes them interesting is that each one has a side effect.
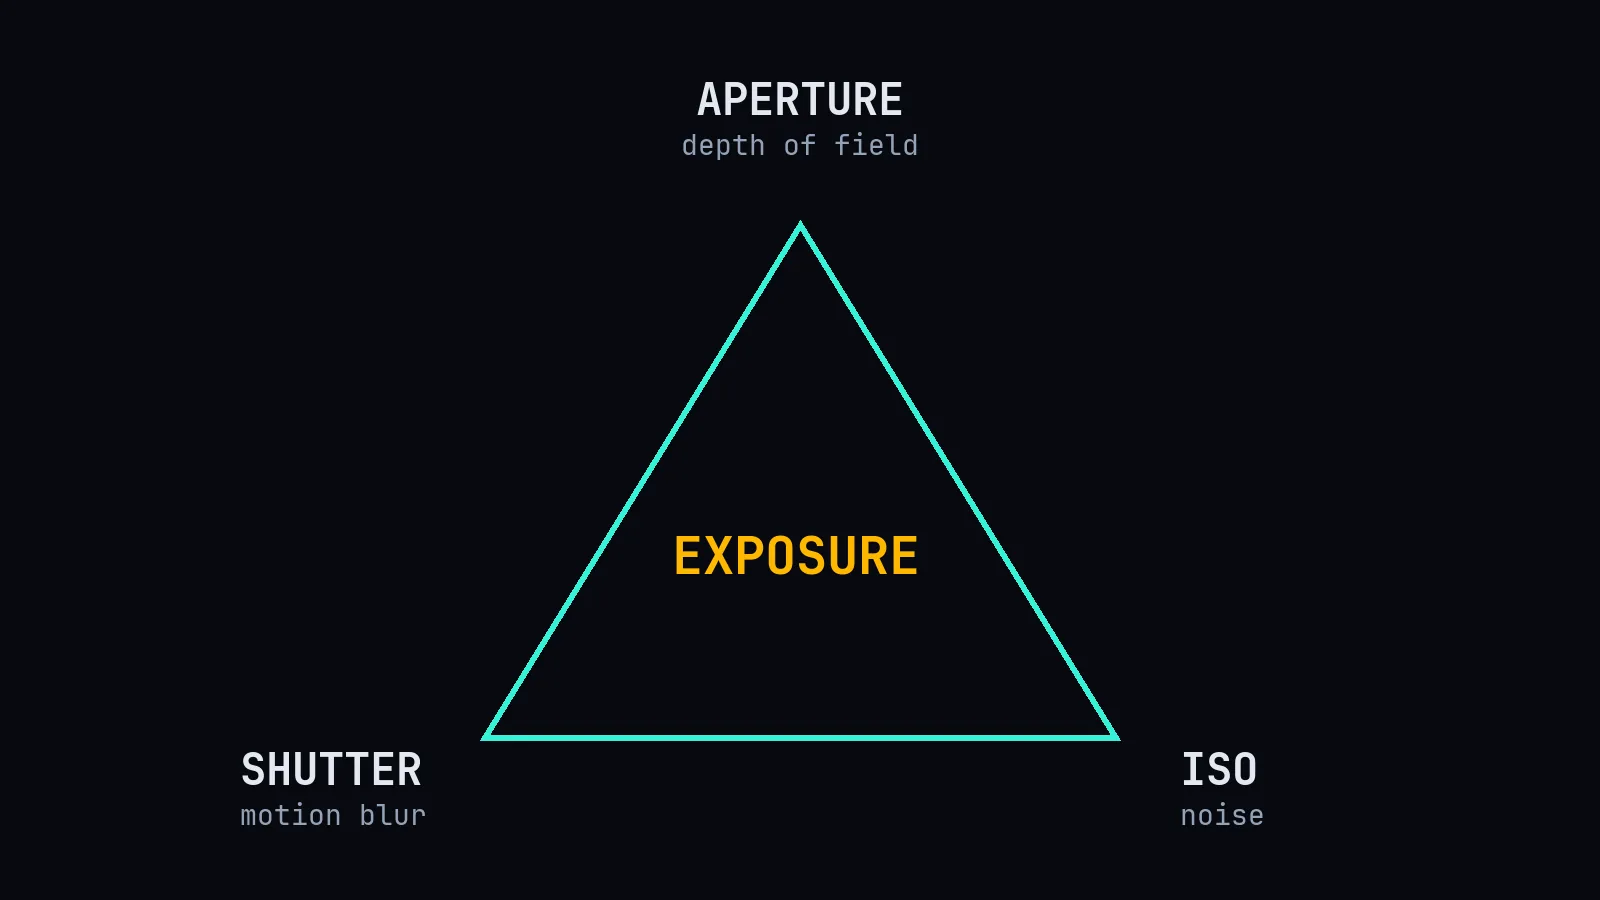
Aperture: the size of the hole
The aperture is an opening in the lens. Bigger opening, more light. It's written as an f-number, and confusingly, a smaller number means a bigger opening: f/1.8 lets in much more light than f/16.
Side effect: depth of field. A wide aperture (f/1.8, f/2.8) gives a shallow depth of field: your subject is sharp and the background melts into blur. A narrow aperture (f/11, f/16) keeps everything from foreground to mountains sharp.
- Portraits: wide (small f-number).
- Landscapes: narrow (large f-number).
Shutter speed: how long the light comes in
Written in fractions of a second: 1/1000 is very fast, 1/30 is slow, 2" is two seconds.
Side effect: motion. Fast shutter freezes action: a cricket ball, a jumping child, a splash. Slow shutter blurs motion: silky waterfalls, light trails from cars at night. Too slow while hand-holding the camera and everything blurs from your hands shaking.
A useful rule of thumb: to avoid shake when hand-holding, use a shutter speed of at least 1 / (focal length). With a 50mm lens, 1/50 or faster.
ISO: how sensitive the sensor is
Low ISO (100, 200) means clean images in good light. High ISO (3200, 6400) lets you shoot in dim places.
Side effect: noise. Higher ISO adds grain and reduces fine detail. Modern cameras handle high ISO far better than older ones, so don't be afraid of it; a sharp, slightly noisy photo beats a blurry clean one every time.
Stops: the common currency
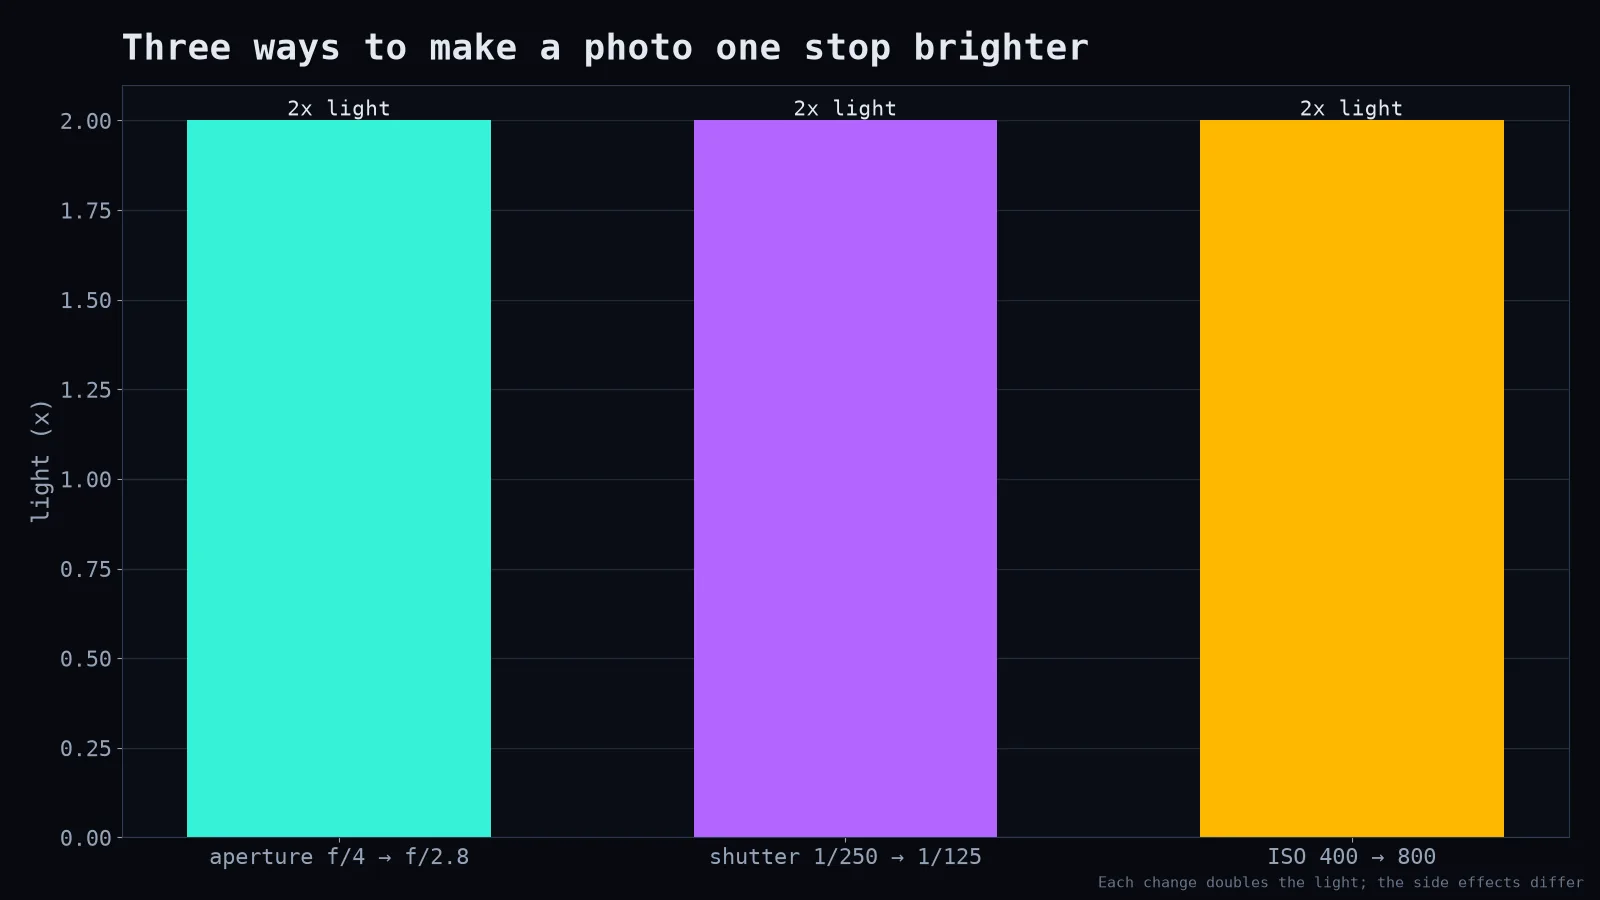
Photographers measure light in stops. One stop = double or half the light. If you make the aperture one stop smaller (less light), you can make the shutter one stop slower to compensate. Same brightness, different look.
A simple way to start
- Use aperture priority mode (A or Av). You choose the aperture; the camera picks the shutter speed.
- Set ISO to auto with a sensible maximum (say 6400).
- Watch the shutter speed the camera picks. If it's too slow for what you're shooting, open the aperture or let ISO rise.
Once that feels natural, try full manual for a day. You'll make mistakes, look at the photos, and understand exactly which dial caused each one. That's the whole learning process. The cockpit becomes a dashboard, and the dashboard becomes instinct.